How to add an Item to a POS button with Microsoft Dynamics NAV/BC LS Retail.
Follow these quick and easy steps to add an item to a button on your LS Central POS using the PLU_K Command on Button Properties. What is the PLU_K Command do?
PLU_K
This command initiates an item sale and takes an item number as a parameter.
Example. Button for item no. 5000. Setup: Command PLU_K, Parameter 5000 (or any item no.), Post Command LASTMENU, optional (LASTMENU returns to the previous menu after the button has been pressed).
View a complete list of LS POS Commands
-
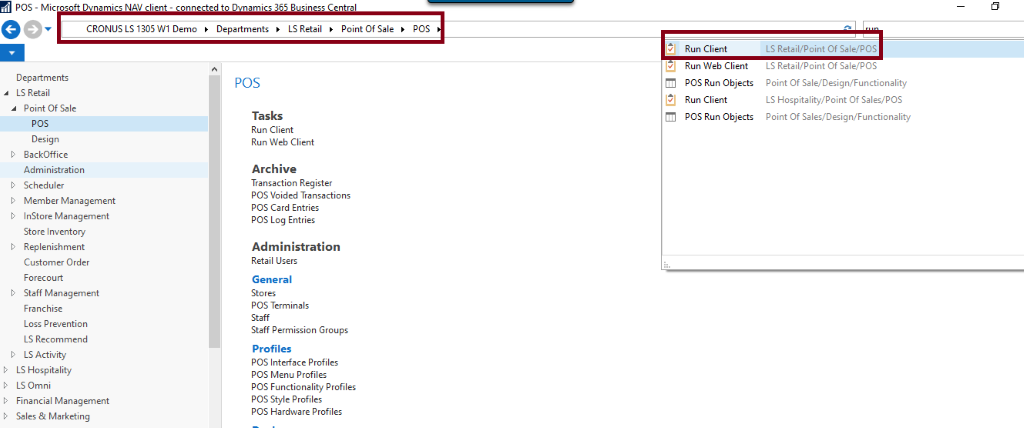
Go to the LS Central database and search for Run Client or use the below path.
-
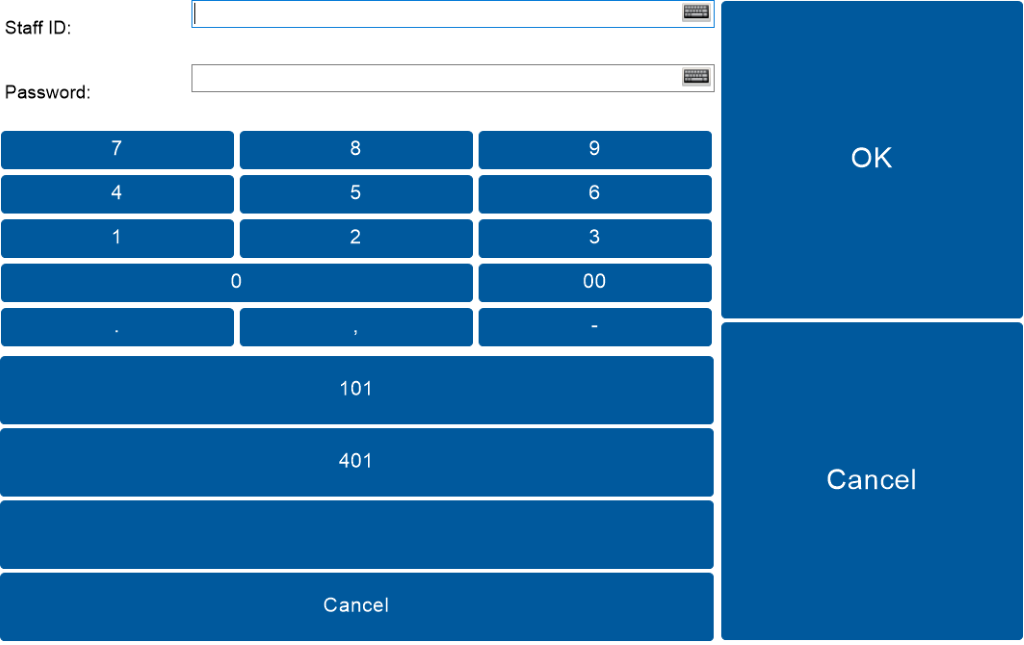
The client will open, Enter User Id and Password.
-
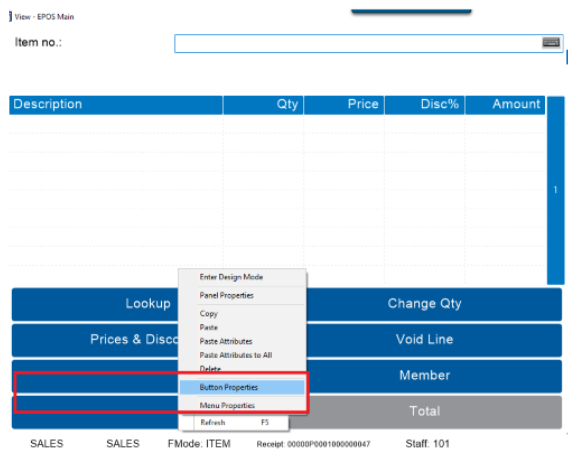
Select the button where you would like to add the item. Right-click and then select button properties.
-
Setup your button with the following details:

- Description:
- Enter the Name you would like to appear on the button.
- Command:
- Enter to initiate an item sale, use PLU_K.
- Parameter:
- Enter the item number you would like the button to select.
-
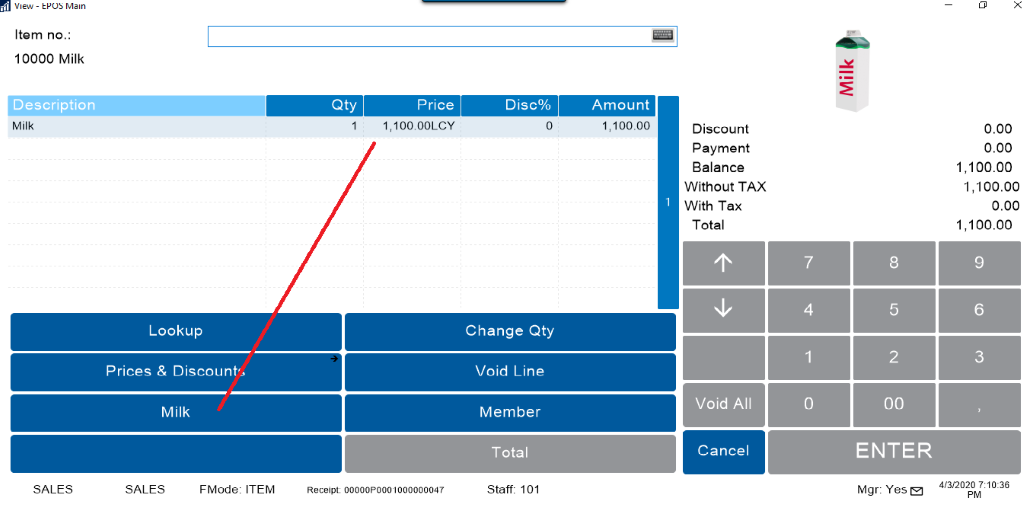
Now you can select the item on POS by pressing the button.
References
Check out the
Original Post (Hindi).
Try Navisiontech Support today! We offer 2 FREE hours of support for nearly ALL versions of Dynamics NAV, from version 3 to Business Central. Our support team is US based and will provide support not only for your ERP system, but also for SQL Server, EDI, supply chain management tools, and even code-level support.


This is great. Next you should do an info code button. For some reason people really struggle with those.