Simplify your EDI process with Dynamics 365 Business Central
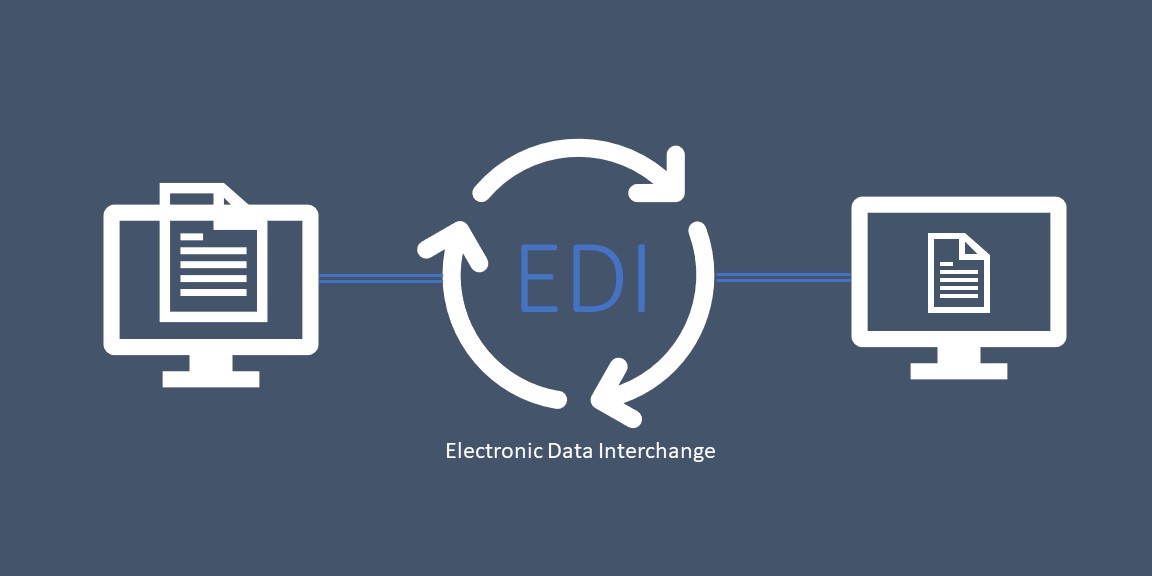
EDI stands for Electronic Data Interchange. It is a standardized electronic communication method used to exchange business documents between trading partners. EDI replaces the need for manual paper-based processes by enabling the exchange of structured data in a computer-readable format.
Select an EDI:Dynamics 365 Business Central does not have built-in EDI functionality, so you’ll need to choose an EDI solution that integrates with Business Central. There are several third-party EDI providers available in the market, such as Lanham, SPS Commerce, TrueCommerce, Data Masons, or Cleo Integration Cloud.
Install: Once you’ve chosen an EDI provider, follow their installation instructions to set up the EDI solution in your Dynamics 365 Business Central environment. This typically involves installing an EDI extension or app from Microsoft AppSource or directly from the EDI provider.
Configure: After installing the EDI solution, you’ll need to configure it to establish a connection between Dynamics 365 Business Central and your trading partners. This configuration usually involves mapping your business documents (such as purchase orders, invoices, or shipping notices) to the appropriate EDI formats (such as EDIFACT or ANSI X12). EDIFACT (Electronic Data Interchange for Administration, Commerce, and Transport) and ANSI X12 (American National Standards Institute Accredited Standards Committee X12) are two widely used standard formats for structuring and encoding electronic business documents in the field of electronic data interchange. The EDI provider should provide guidelines or wizards to help you with this configuration.
Set up Trading Partner Profiles: In EDI, trading partners refer to the companies or entities with whom you exchange electronic documents. You’ll need to set up trading partner profiles within the EDI solution. These profiles typically include information like EDI addresses, communication protocols (e.g., FTP, AS2), and document format preferences. Follow the instructions provided by your EDI solution to create and configure trading partner profiles for your specific trading partners.
Test and Validate EDI Documents: Before going live with your EDI integration, it’s crucial to test and validate the exchange of EDI documents with your trading partners. Most EDI solutions offer testing environments or tools that allow you to simulate EDI transactions. Use these testing facilities to ensure that the EDI documents are accurately generated, transmitted, and received by your trading partners.
Go Live: Once you have successfully tested the EDI integration and resolved any issues, you can start exchanging live EDI documents with your trading partners. Make sure to monitor the EDI processes initially to ensure smooth and error-free operations.
Please keep in mind that the exact steps and procedures can vary based on the specific EDI provider and the version of Dynamics 365 Business Central you are working with. It is advisable to refer to the documentation and support resources offered by your EDI parnter.
You have questions, we have answers.
Call us today for expert assistance in setting up EDI in Dynamics 365 Business Central. Our dedicated team of specialists will streamline the entire process for you.
7244 Kyle Court, Suite 5
Sarasota, FL 34240 USA
T: (941) 914-9144
Who We Are
Navisiontech Inc. is a leading provider of end-to-end integrated, adaptable Business Applications built on a Microsoft Dynamics Platform.
Navisiontech is here to help companies drive business and operational excellence through technology.


Leave A Comment